Showing posts with label wreath ideas. Show all posts

Tuesday, July 03, 2018

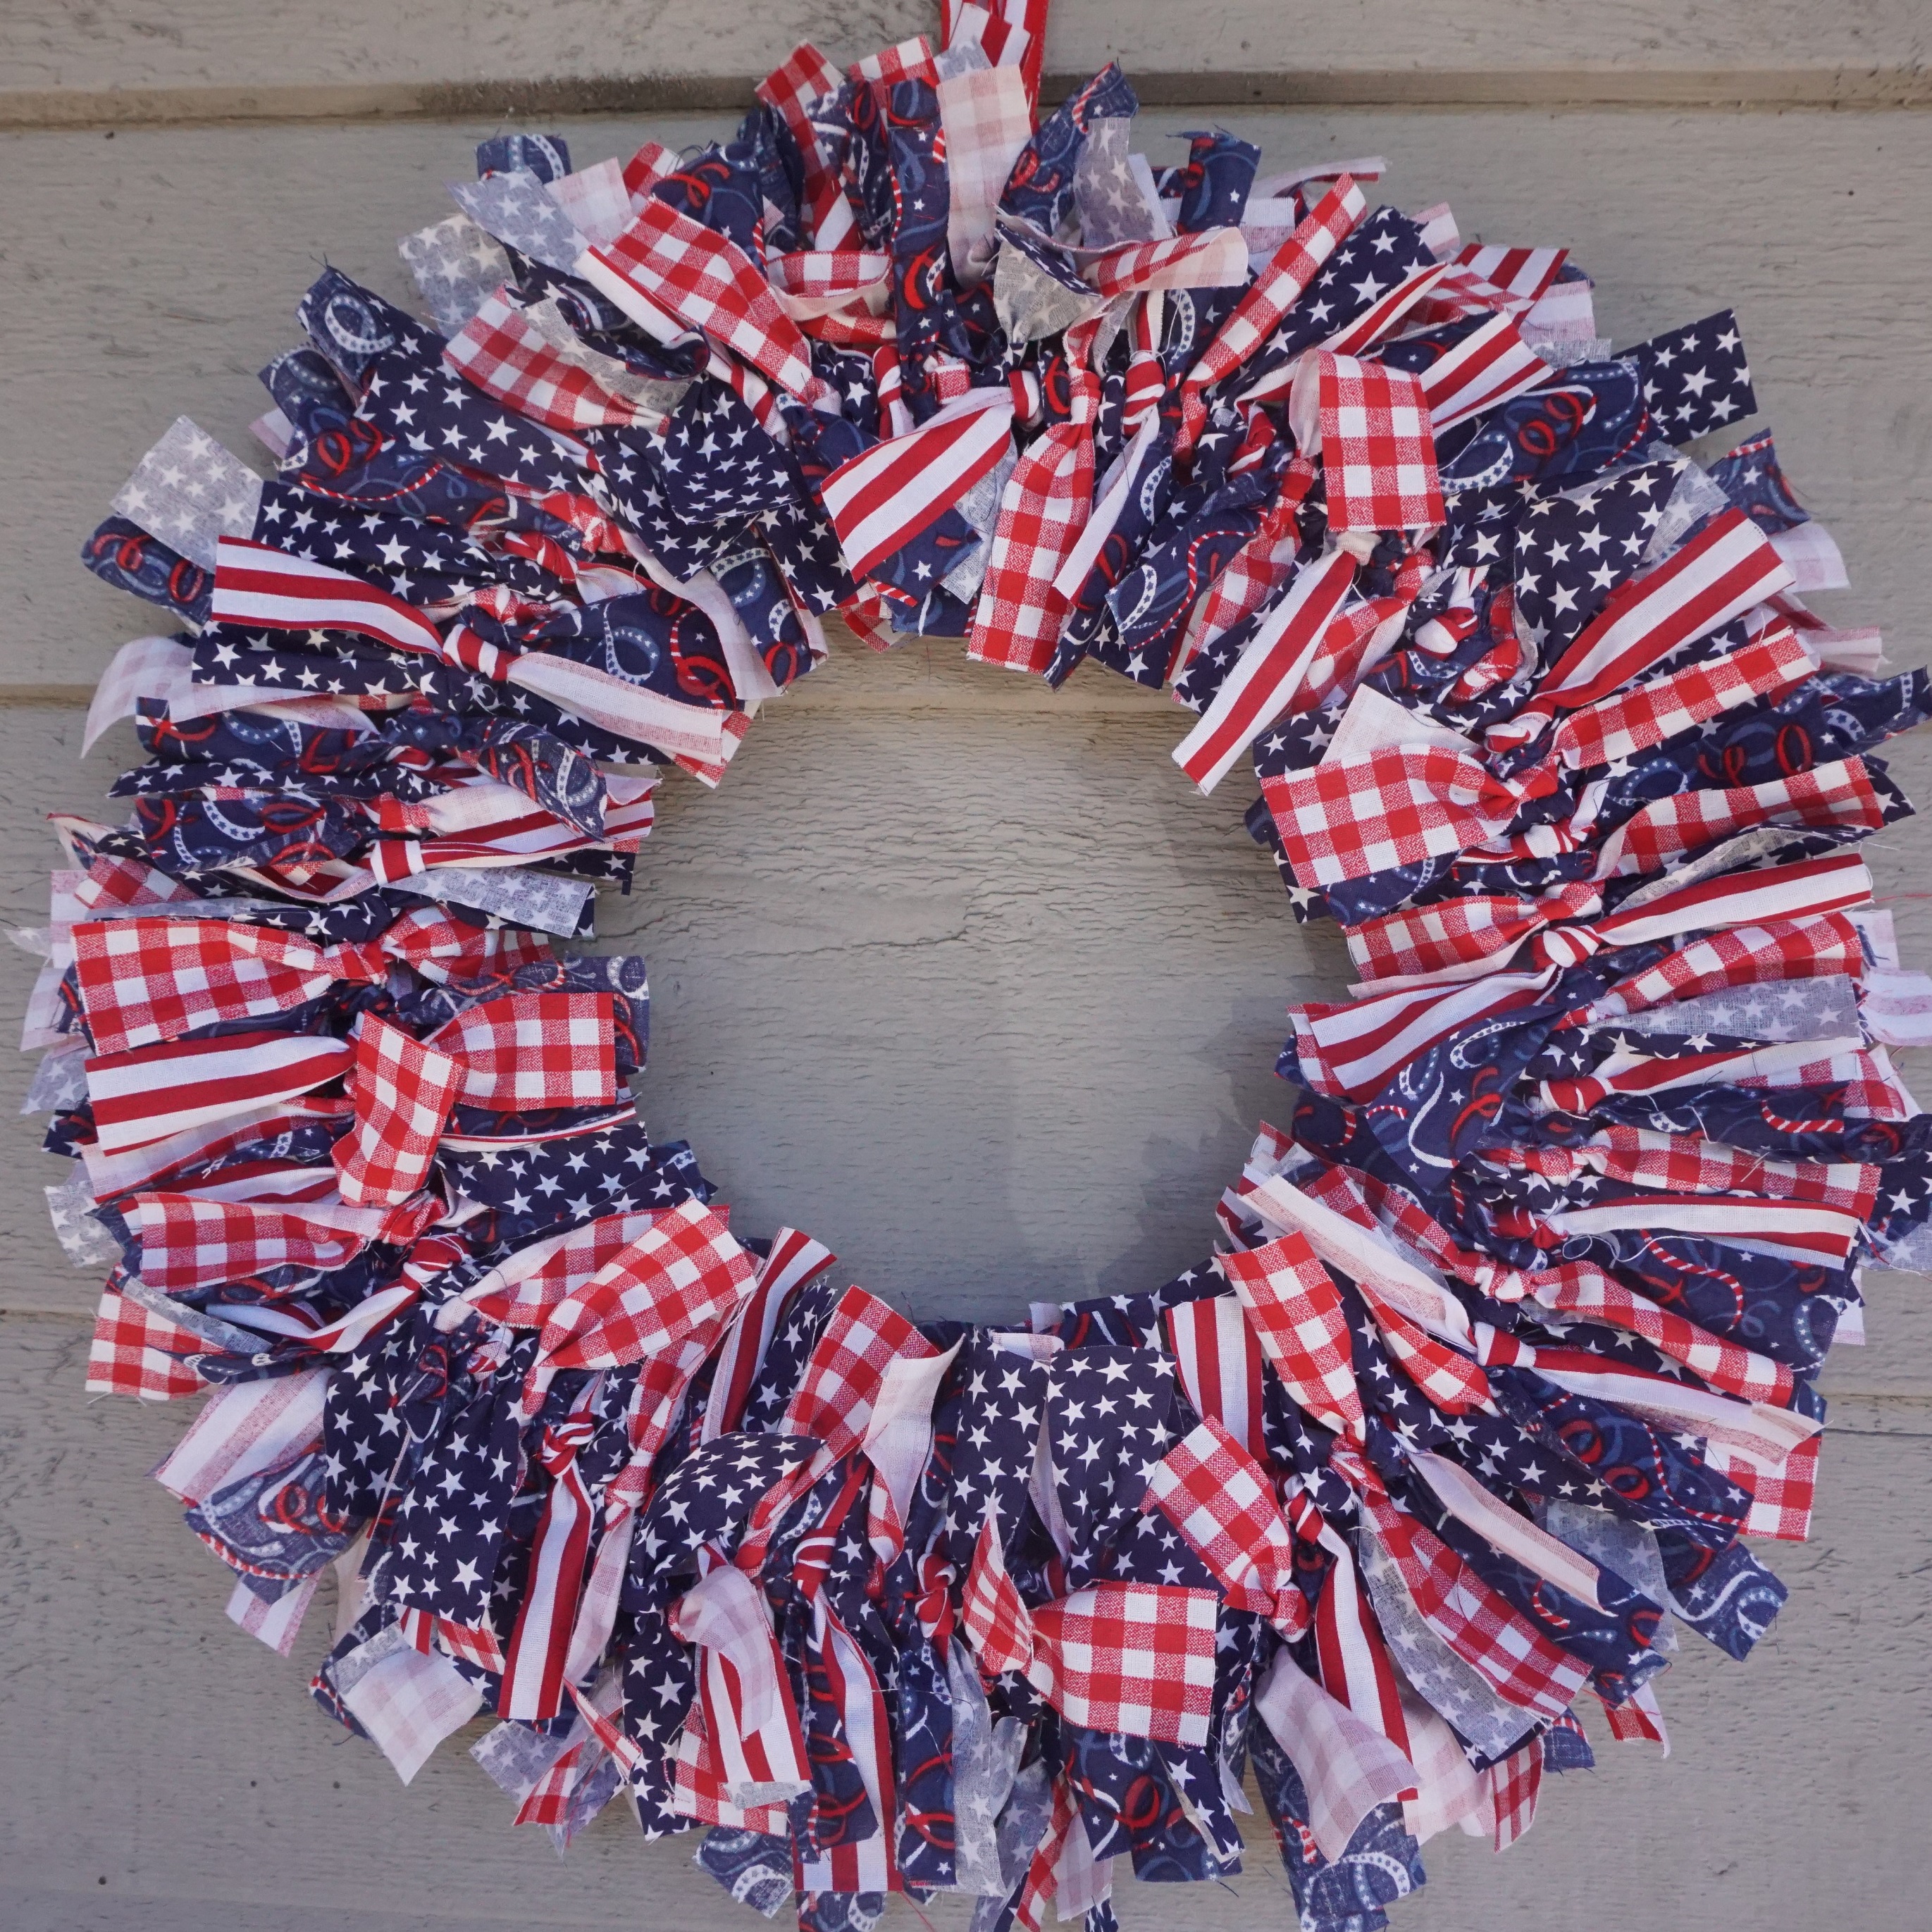
Fourth of July wreath

I haven't made anything in a while, so it was time!

I made this fabric scrap wreath for the 4th of July. I finished it just in time to display it.

I got my inspirtation from this blog post.

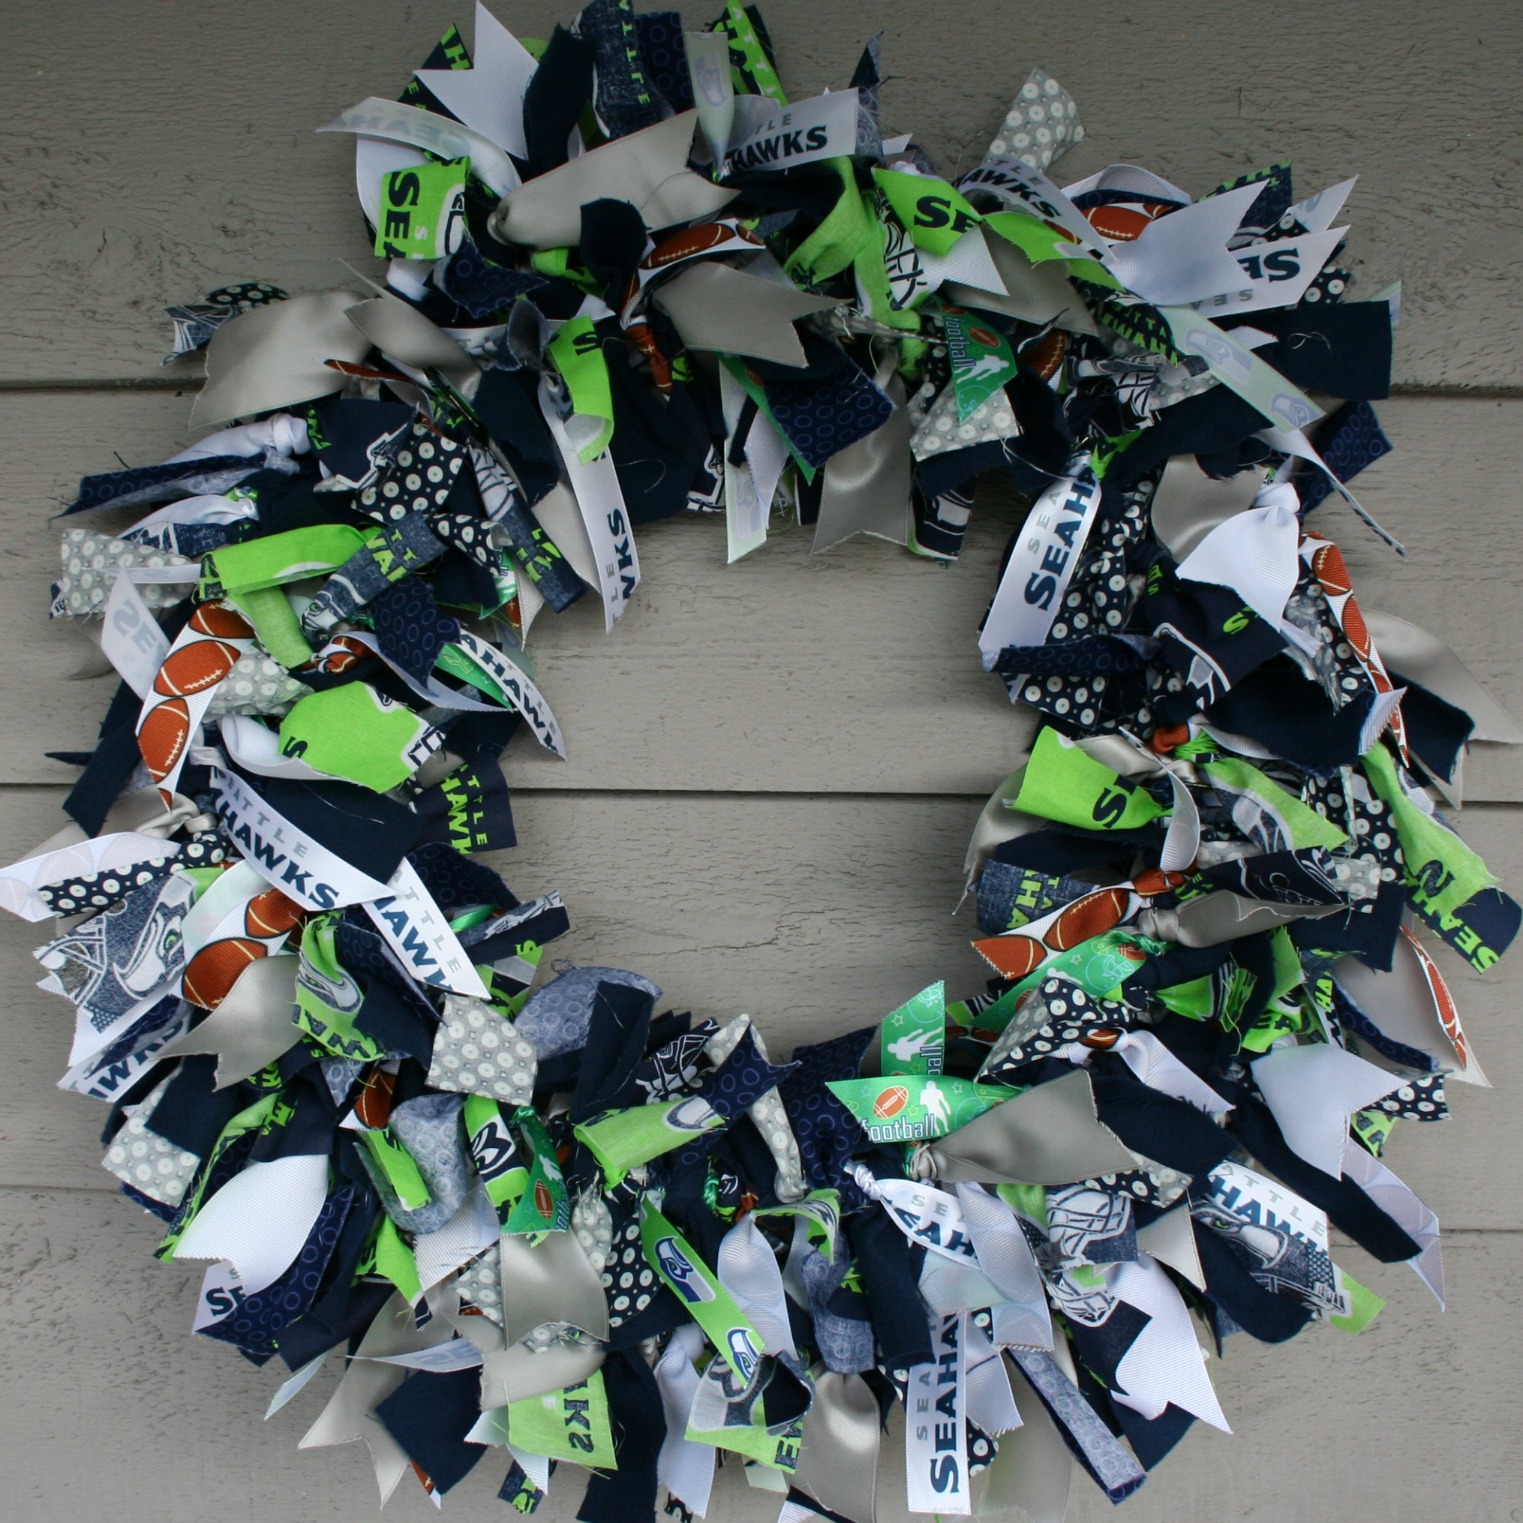
Two years ago, I made a similiar wreath with a Seahawks theme.

It is quite simple to make. Just lots of cutting fabric - with a rotary cutter, and then lots of tying.


Pin It

Sunday, March 05, 2017

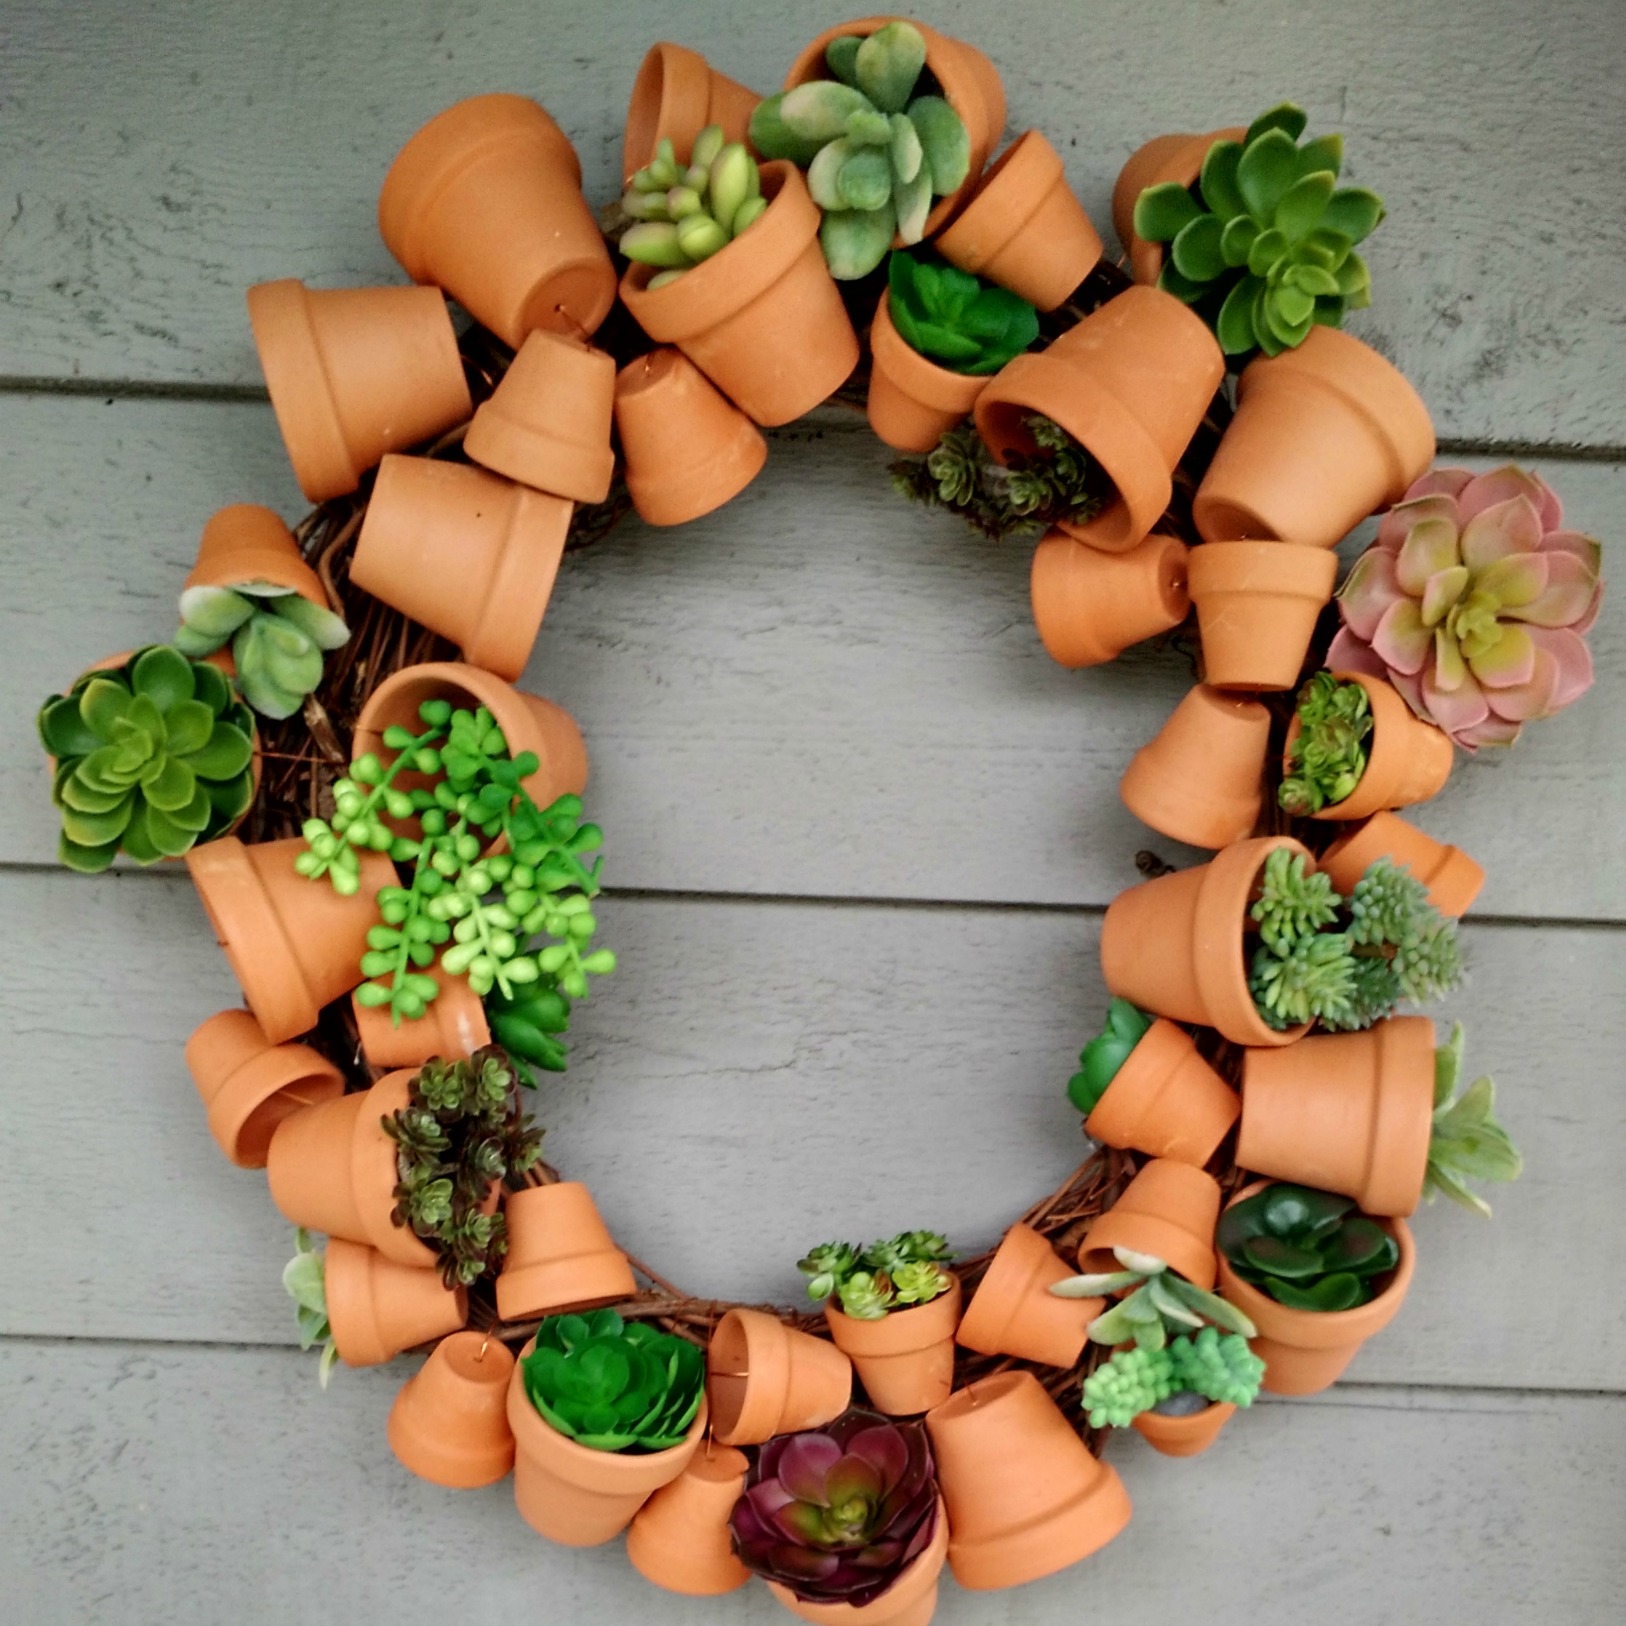
Succulent Wreath

I made this clay pot wreath a few years ago. I knew what I wanted to add to it eventually. I found a lot of realistic looking faux succulents at Michael's so I added them to my wreath.

I hot glued small pieces of styrofoam at the bottom of the pots. They I glued the stems of succulents inside.


Pin It

Monday, January 25, 2016

Seahawks Wreath

I know, I know. The season is over. I started making this wreath when the Seahawks were still in the playoffs. I was determined to finish it, no matter what. I got the idea from Ben Franklin in Redmond.


Basic directions are as follows. Get a wire wreath form(or find one in your stash like I did). A similiar size to mine can be found for about 3 dollars at Michael's.

Pick your fabric and ribbon. Fat quarters are great for this project. Cut fabric and ribbon to approx. 1 1/2 inches wide and approx. 8 inches long.

Tie them onto the wreath form. Note: my wreath has only 2 circles. I noticed that purchased ones have 4 circles therefore you would have a much more bushy wreath and have to do a lot more tying.


Pin It

Saturday, October 24, 2015

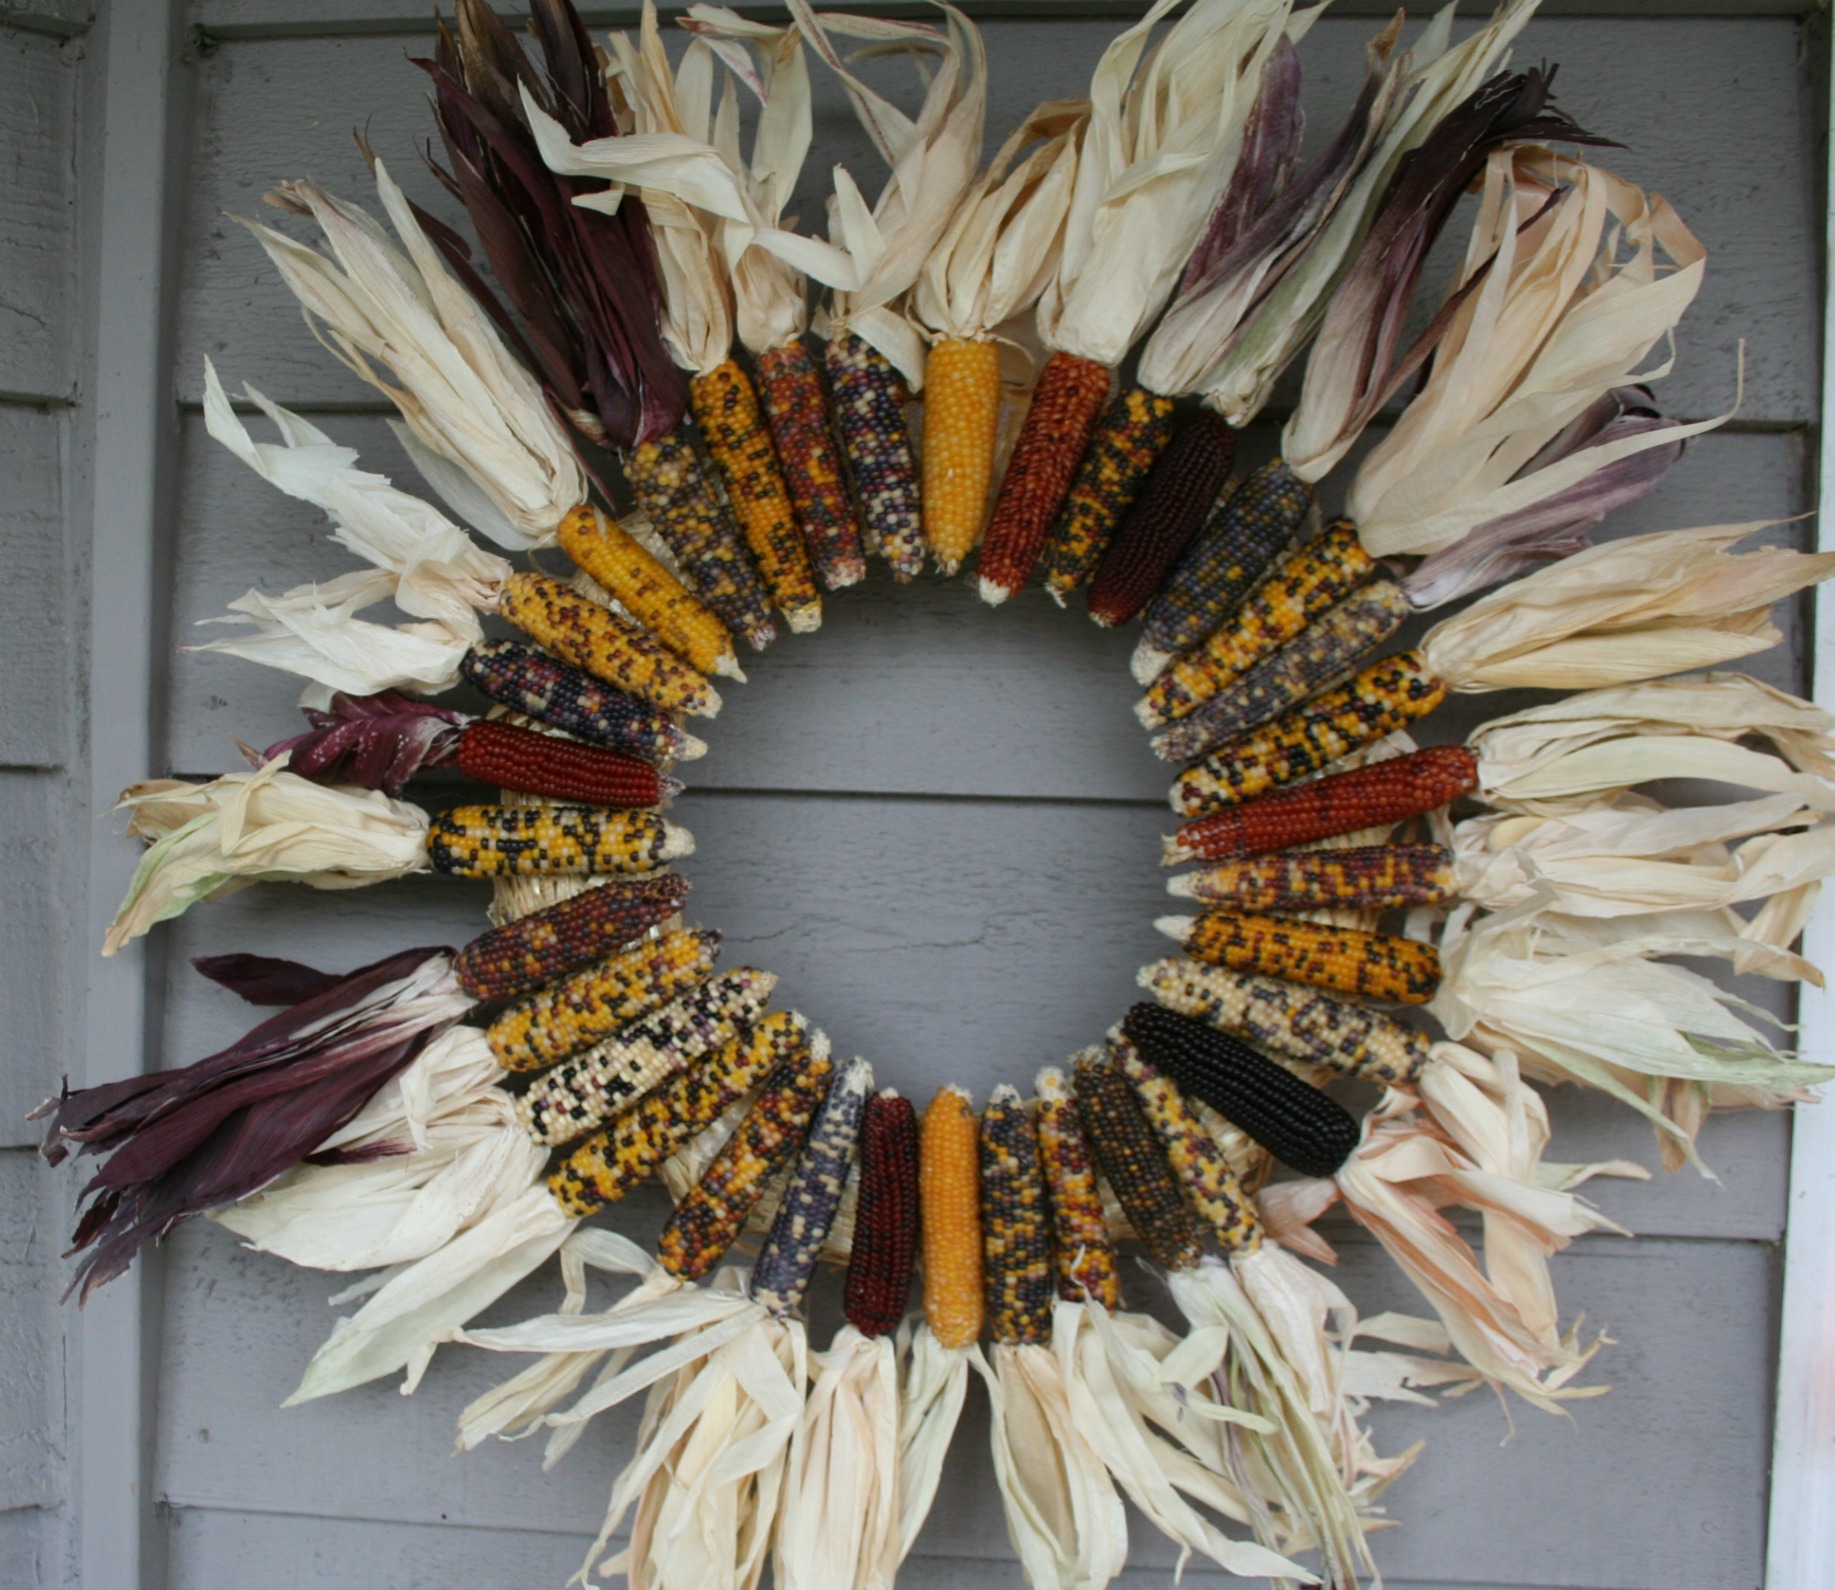
Indian Corn Wreath

I haven't made a wreath in a while. When I was changing my decor for fall, I realized that I needed a fall wreath for outside. I decided to make an Indian corn wreath.

Supplies needed:
- straw wreath form
- Indian corn (real, not faux) - these come in various sizes. I picked the medium ones. Fred Meyer had a large quantity, which I needed. I used 34.
- glue gun with lots of glue sticks.

I'm pretty happy with the outcome. Even my 12 year old said it was cool, which is high praise. :)


Pin It

Sunday, May 18, 2014

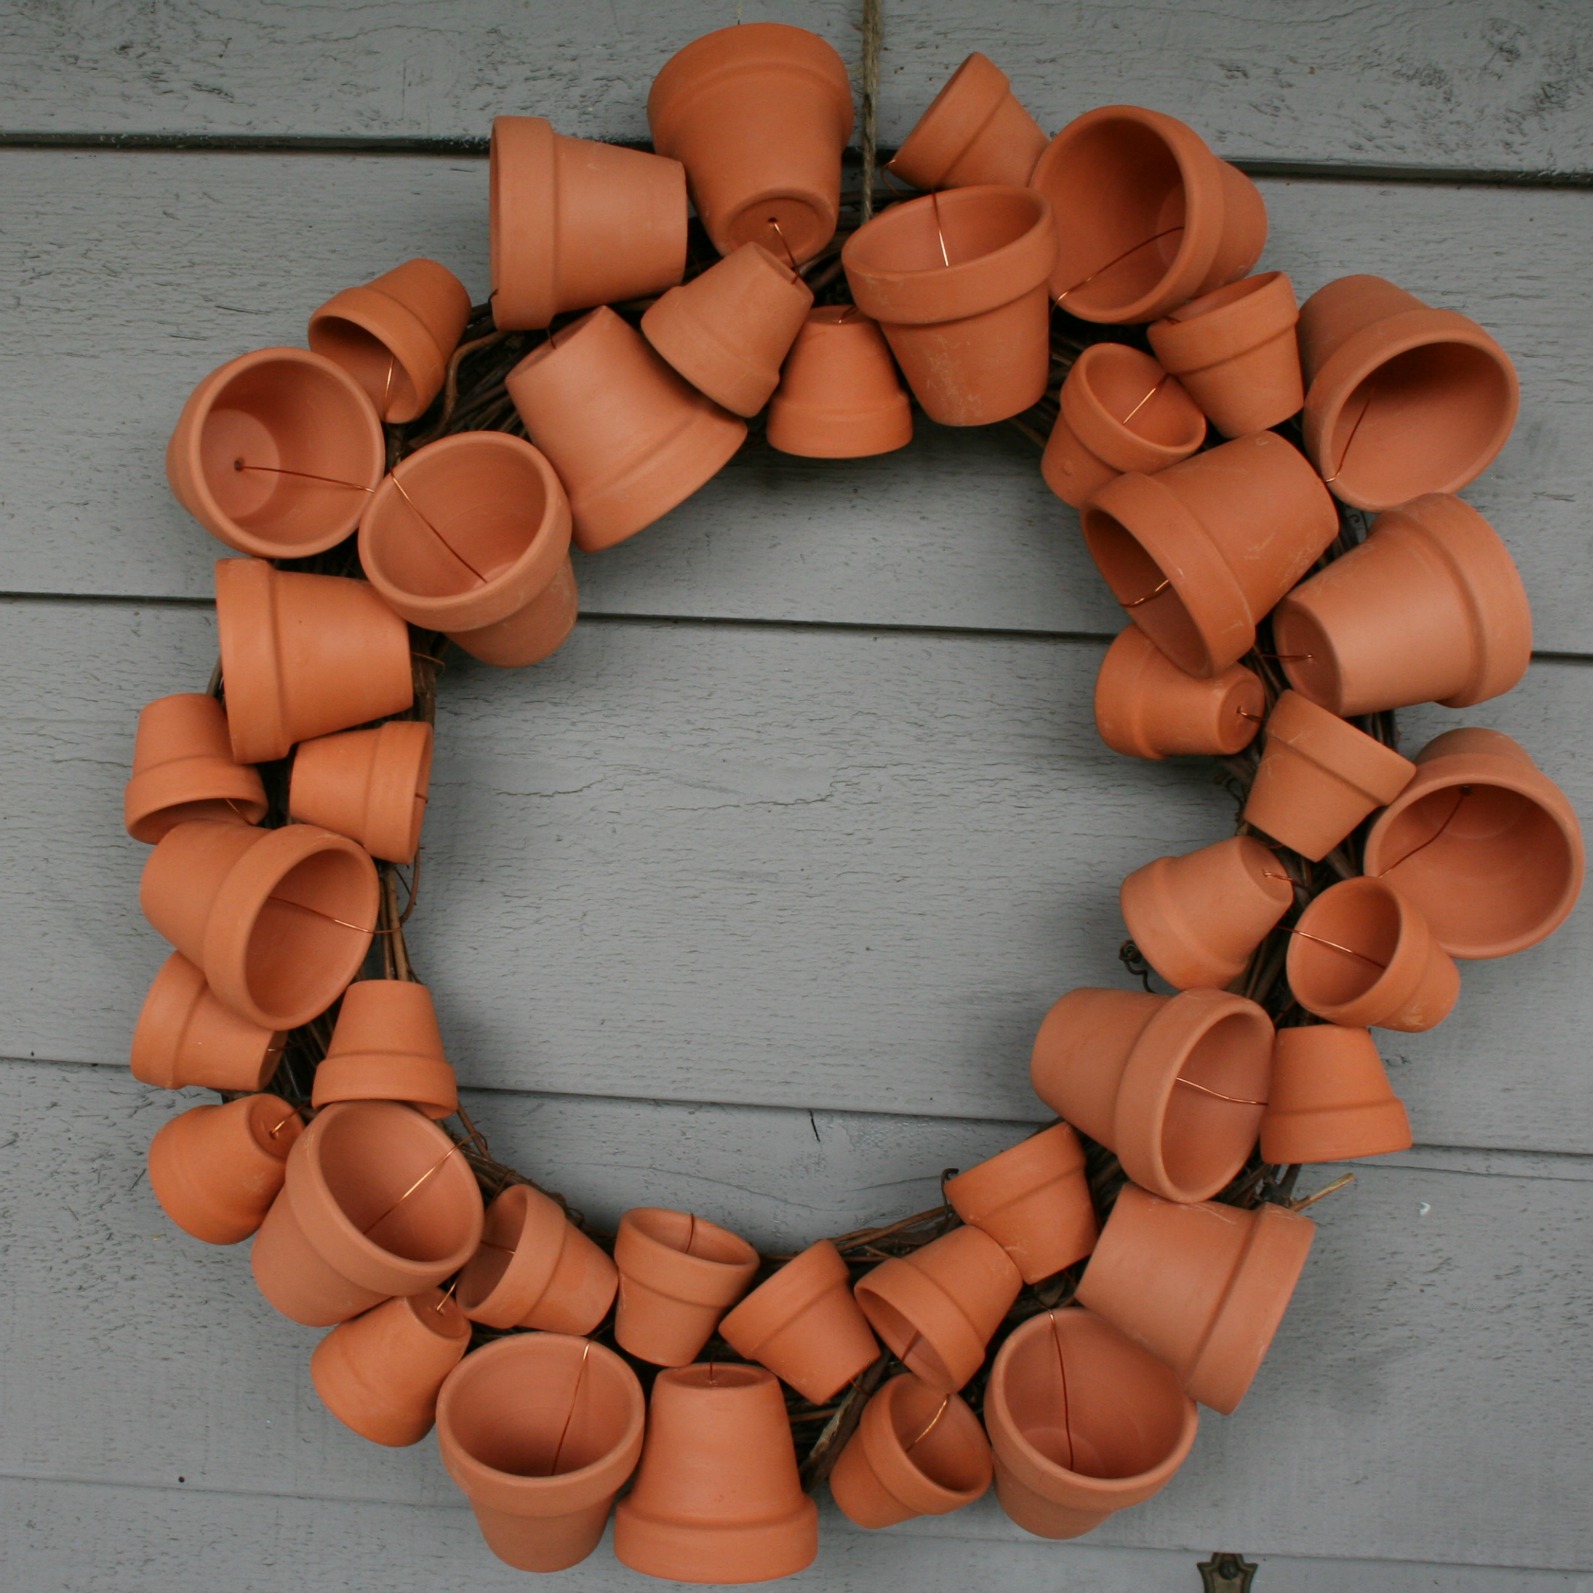
Gardener's Wreath

My latest completed project is this clay pot wreath.

Supplies needed:
- grapevine wreath. Mine was found at a thrift store so it isn't perfectly round.
- wire. I used 20 gauge, copper coloured.
- wire cutter.
- pots. Lots and lots!Pin It

Wednesday, December 14, 2011

White and Silver Paper Doily Wreath

I finally finished this wreath. It's been sitting on my counter, unfinished, for a few weeks making my husband nervous in all its whiteness. It was right near where my kids pour their drinks. Talk about living on the edge!

My inspiration came from this wreath at Diamond in the Stuff's blog. Where did I find it? Pinterest, of course!!

Instructions and sources:
1. Using a styrofoam wreath, wrap with wide satin ribbon.
2. Attach a wide ribbon for hanging before gluing the cones down. I did this at the end (after the cones were glued down) and it was tricky. :)
3. Make lots of cones out of doilies. Instructions here. Secure them with hot glue. Don't burn yourself! You will need approximately 60 doilies if you want to replicate my wreath.
3. Glue the cones to the wreath using hot glue. I did 2 layers of cones.
4. Select something for the centre. I used a doily die cut from Martha Stewart's craft line. This is very similar. I glittered the edges. On top of that I glued a small silver doily. On top of that I glued a snowflake sticker (Jolee's boutique). Glue your centre into the middle of the wreath.
6. Hang and admire. :)

I'm linking up with A Crafty Soiree at Yesterday on Tuesday, Chic and Crafty at Frugal Girls and Sew-Crafty Tuesday at Ruby Jean and HookingupwithHoHPin It

Saturday, October 15, 2011

Book Page Rosette Wreath

using book pages. This one took me a LOT longer than the last one. :) I've been working on this sucker for probably 10 days. My neck and hands are not happy with me. My kids kept asking me "when are you going to be done with that?" I asked myself the same question a few times. I get a little obsessive when I create something. Add in a dose of unhealthy perfectionism (I wonder where my kids get that trait from?) and a project takes me FOREVER! :)

OK, here's the big reveal.
Here's a closer look.
Materials:
- book pages - if you want a two toned look you will need one newer book and one older. Hardcover books have better pages, IMHO.
- styrofoam wreath form - 12 inches.
- hot glue gun and a supply of glue
- circle punches (optional) to make the circles
- ribbon - mine is a 1 1/2 inch jute ribbon

Instructions:
1. cut strips from the book pages and wrap them around the wreath form (this will hide any gaps between the rosettes) and glue down.
2. cut circles out of your book pages - you can do all one size (much quicker) or be slightly insane and make a variety of sizes like I did. :)
3. make the circles into rosettes - a good tutorial here.
4. hot glue the rosettes onto the wreath form
5. loop a ribbon around the wreath, hot glue
6. make a bow and hot glue it onto the loop. Martha has an easy tutorial for making a ribbon bow.
7. hang and enjoy.

I'm linking to Show and Tell Friday at My Romantic Home
and

vif187
A Crafty Soiree
Pin It

Saturday, October 01, 2011

Fallish Wreath

I love the change of seasons. I'm excited for the new opportunities each season brings. Especially the change to redecorate or at least change up some of my "flare" around the house. This wreath isn't the traditional fall wreath but I love it.
I found the inspiration for the wreath at the Flower Patch Farm Girl's website. Now, I want you to know that the book (that I took pages out of) for this project was a stinker. Trust me, I read some of it. No great loss. :)

Materials:
- grapevine wreath that I found at Goodwill
- book pages
- polka dot scrapbook paper from Michael's
- buttons
- a 2 1/2 inch heart paper punch (also from Michael's)
- my hot glue gun.

Here's a close up:
The instructions are pretty simple:
1. punch out heart shapes (5 per flower)
2. fold in half
3. staple hearts together to form a flower
4. hot glue a button in the centre of the flower to cover the staples
5. hot glue the flowers onto the wreath.

Pin It
Related Posts with Thumbnails