Showing posts with label creative outlet. Show all posts

Tuesday, July 03, 2018

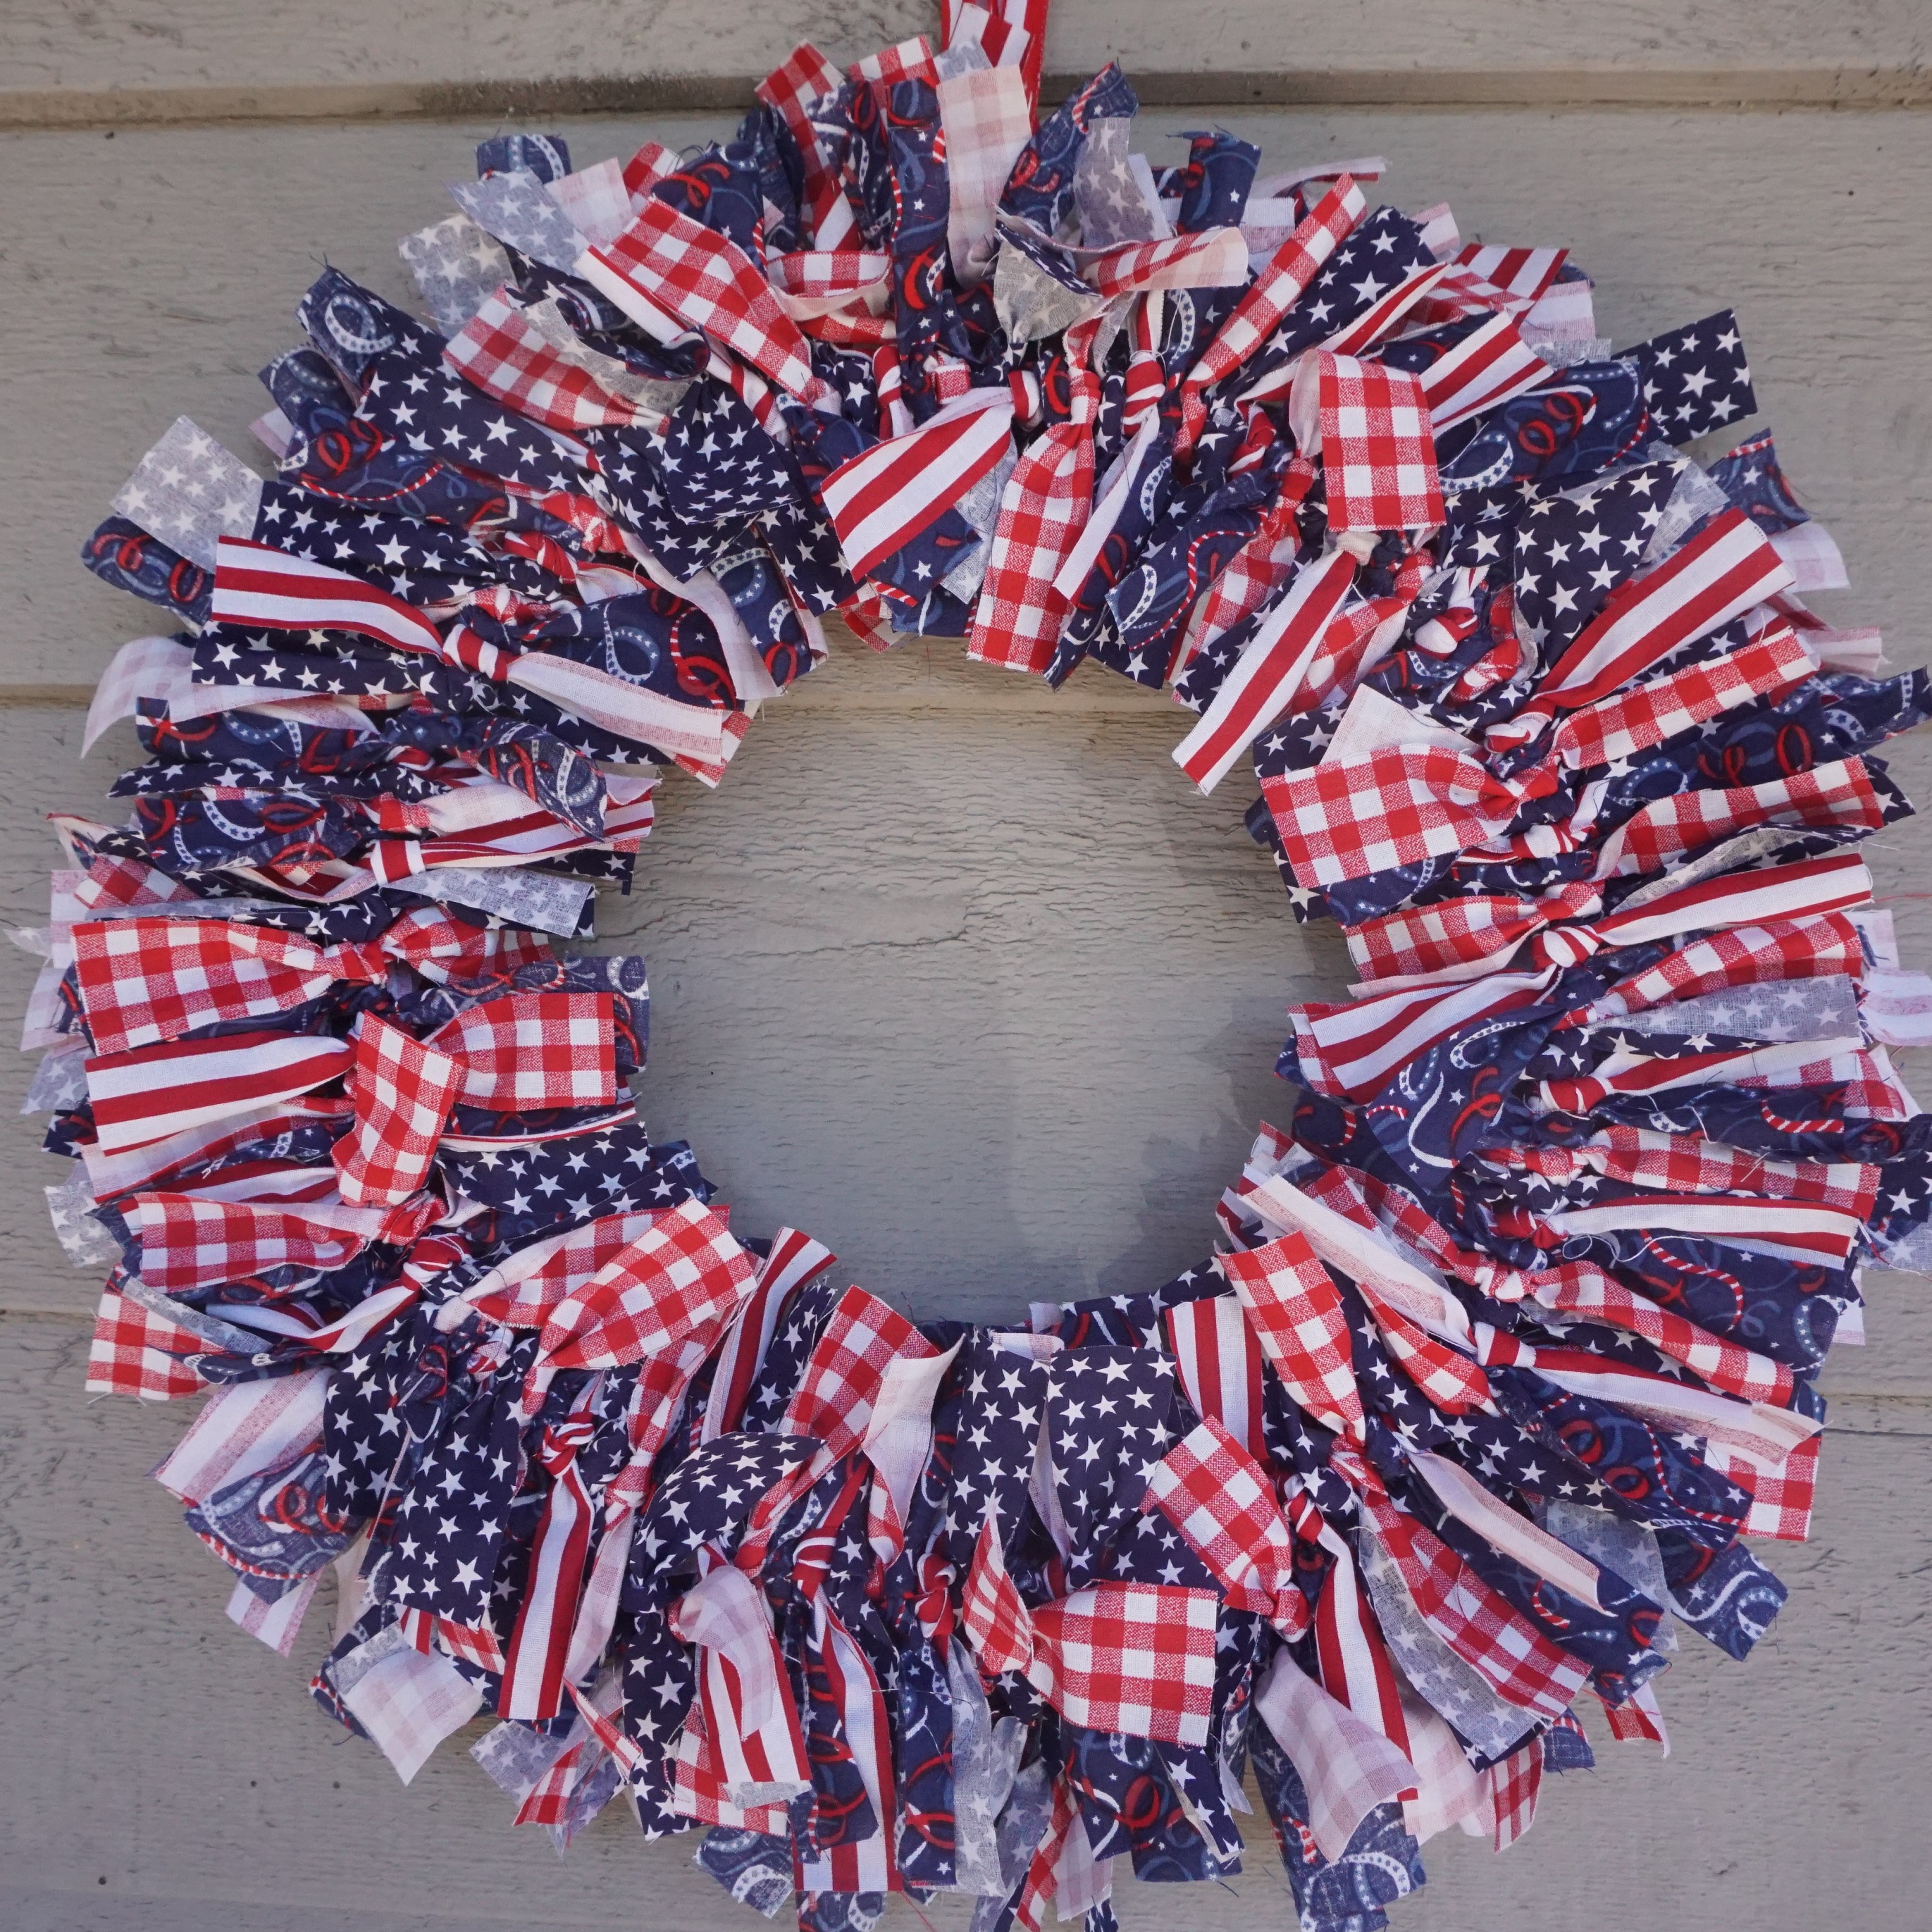
Fourth of July wreath

I haven't made anything in a while, so it was time!

I made this fabric scrap wreath for the 4th of July. I finished it just in time to display it.

I got my inspirtation from this blog post.

Two years ago, I made a similiar wreath with a Seahawks theme.

It is quite simple to make. Just lots of cutting fabric - with a rotary cutter, and then lots of tying.


Pin It

Sunday, March 05, 2017

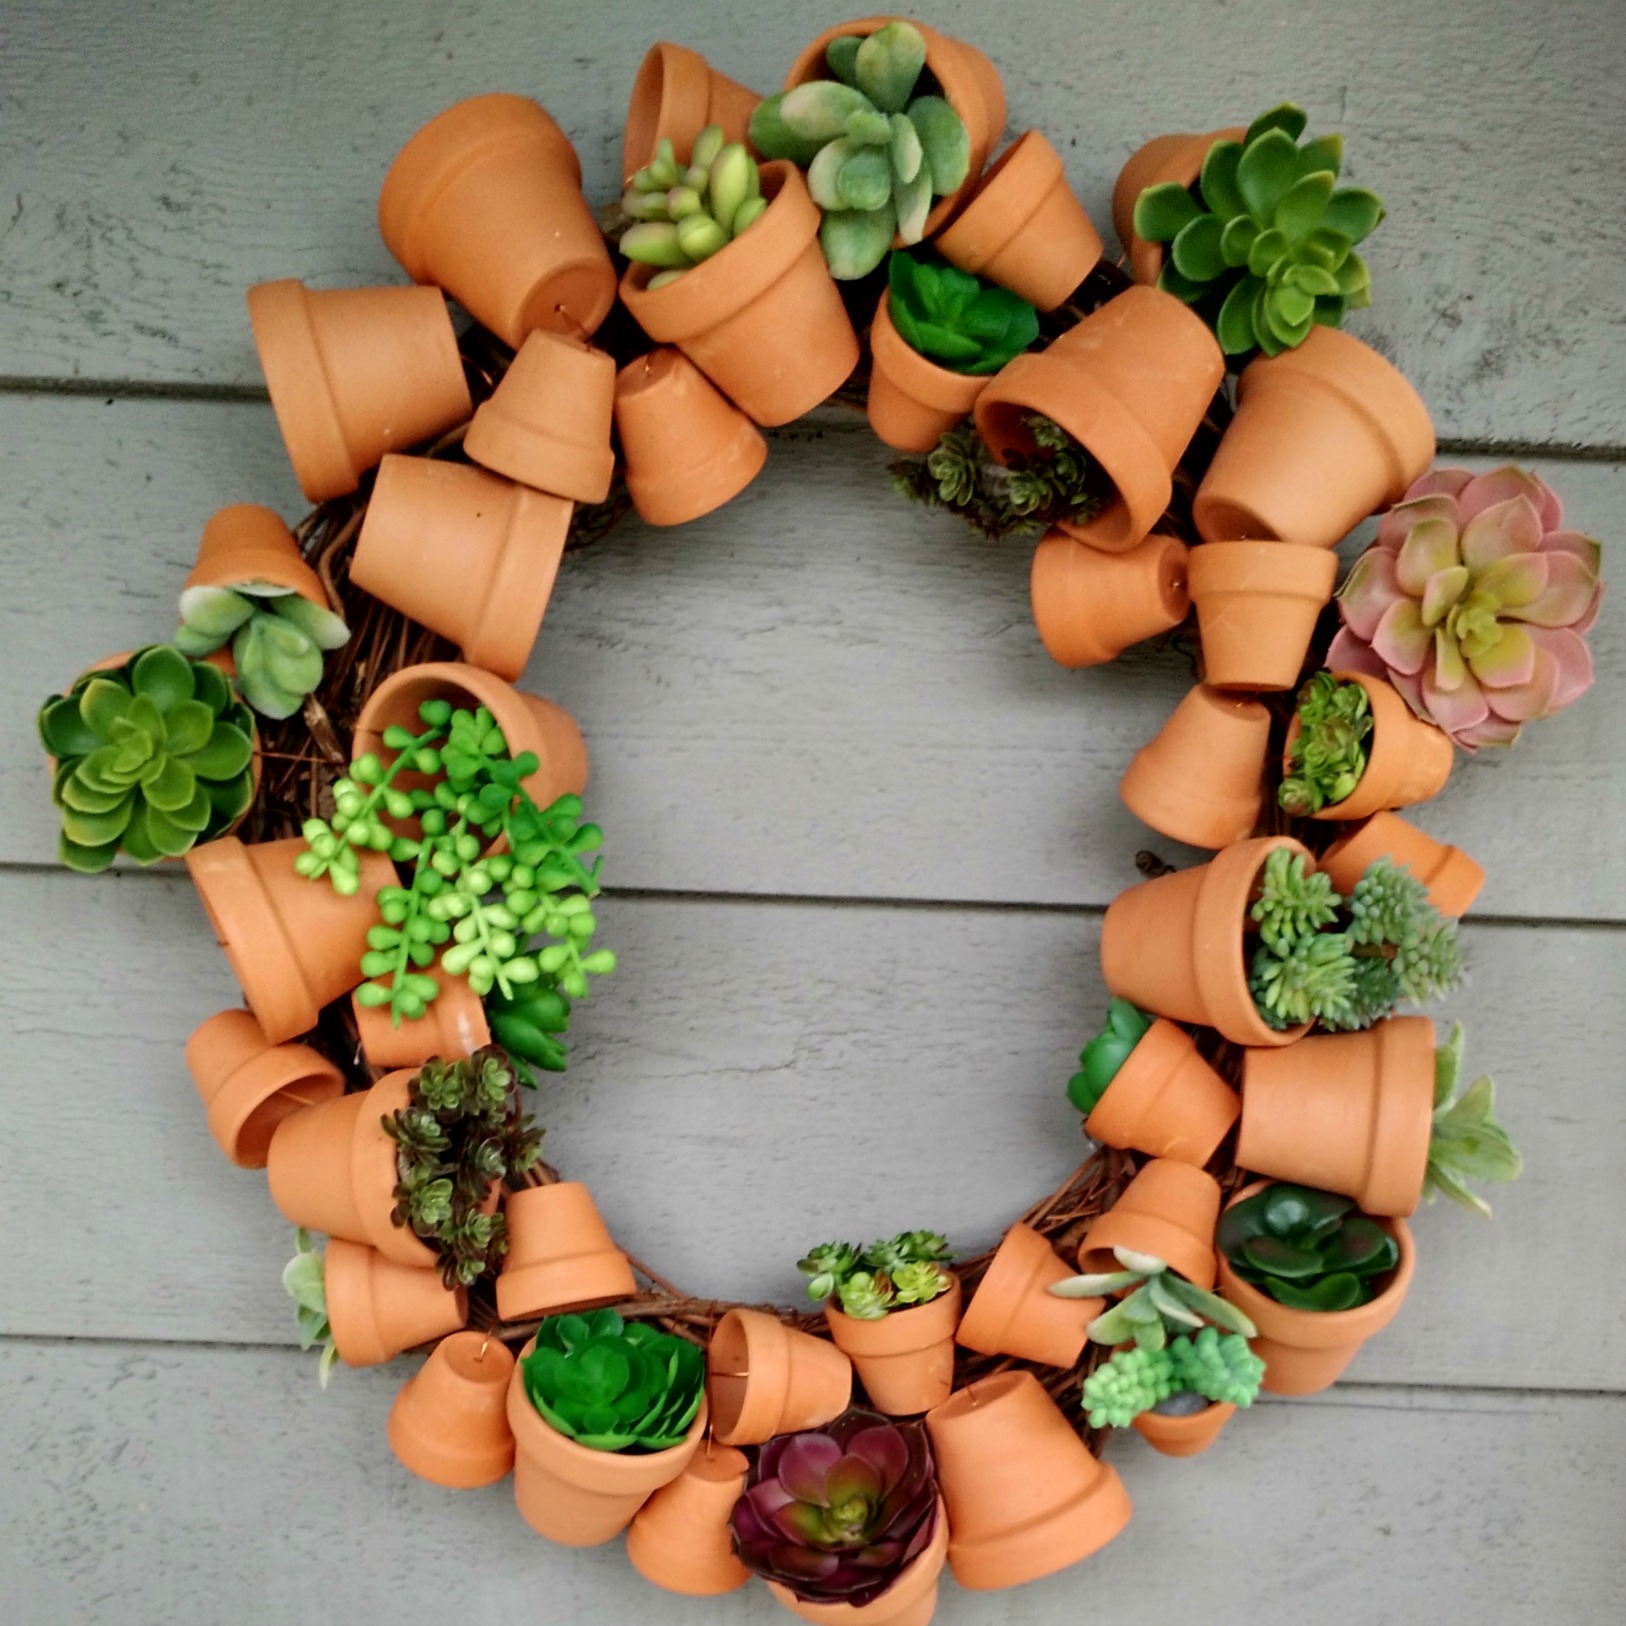
Succulent Wreath

I made this clay pot wreath a few years ago. I knew what I wanted to add to it eventually. I found a lot of realistic looking faux succulents at Michael's so I added them to my wreath.

I hot glued small pieces of styrofoam at the bottom of the pots. They I glued the stems of succulents inside.


Pin It

Saturday, October 25, 2014

Melty Beads - Not Just For Kids

It's been a tough week. There was a shooting at Parliament Hill in Ottawa, where I worked in the mid 1990s and where my brother in law currently works. Then yesterday there was a shooting at a high school not far north of us. So, here is some harmless crafty goodness to forget all the darkness in the world. At least for a while.
Last weekend I was looking for crafts or activities for my youngest son. He really enjoys making things. I found a bunch of Minecreaft themed creations using Perler beads. I showed him the ideas and he got to work. We spent a quiet Saturday morning together. I sorted the beads by colour and he created. Here are SOME of his creations.
He gave all of the other ones away to friends at school. Later, I decided to get in on the fun and make some. Here are some more of my creations:
Top row: Professor Bunsen Honeydew from the Muppets, Beaker from the Muppets.
Bottom row: Minions from Despicable Me movie.

This is such a simple craft. You line the up the beads on a board and then iron them for a few seconds when you are done. lining up the beads is a bit like counted cross stitch. There are hundreds of pattern ideas if you search Google images or Pinterest, using "hama beads", "perler beads" or "melty beads."

The finished creations can be made into key chains, necklaces or fridge magnets. I think this would be a great activity for young kids learning to count. Small, simple designs, that is.


Pin It

Thursday, September 11, 2014

Back to School Mantle

I've wanted to do a "back to school" mantle for a year or so. I find it hard to go straight from my beach themed mantle to a fall one. Hence, a back to school one.
The periodic table poster is wrapping paper made by Cavallini which I bought at Paper Source.
The school house is vintage Fisher Price.
I found the globe at Ross.
I made the banner with flash cards from the dollar section at Target. I simply punched holes at the top of each card and strung it on some brown cord I already had around the house.
I spelled out Back to School with Scrabble letters.

My boys weren't happy when I was creating this mantle. This was before school had started and they weren't too anxious to get back to school!


Pin It

Thursday, April 24, 2014

Hydrangea Easter Eggs

Yes, I know that Easter has passed. :) This is another part of my spring mantle. It feels good to finish a project that I had in the works for some time. The original idea came from this blog.

Supplies needed:

- Martha Stewart hydrangea punch - available at Michael's.
- paper in light shades of purple, blue, green, and pink.
- 200 to 300 pearl pins (for 2 eggs)
- styrofoam eggs
- patience

Directions:

1. Punch out lots of flowers.
2. Layer two and push a pin through them.
3. Push them into the eggs. I like the random look.

Pretty simple. I only poked myself twice. :)

I put them on top of some milk glass containers from my collection. I don't think I need to take them down now that Easter has passed. They are pretty subtle.Pin It

Tuesday, November 26, 2013

Button, Button, Who's Got the Button?

When the days get shorter and gardening season ends, I like to get crafty. It is good to have some projects on the go. This one I finished up a while back. I have a big button collection and I've made headbands with them. I wrote about that on my blog.

I was at a craft fair back in October and saw button bracelets selling for $30  and I thought, I could make that myself for a lot cheaper!

Here's a simple tutorial for a button bracelet.

Materials list:
- chain (gold or silver)
- side cutter tool
- loop closing pliers
- buttons
- jump rings (gold or silver)
- clasp


Directions:
1. cut the chain to the correct length with a side cutter.
2. attach the clasp.
3. open up the jump rings
4. loop the button onto a jump ring
5. connect to the chain.
6. close the jump ring with pliers.
7. repeat until the chain is full.Pin It

Wednesday, April 23, 2008

Love paper?

I found a very cool site filled with all kinds of paper goodies (and other fun things). Perfect for scrapbooking, kids pretend games, card making, etc. I could really go crazy here but I'll try to be good.

Papier Valise Provisions.

Here's a taste.Pin It

Thursday, April 17, 2008

Need an artistic outlet?

Try out this website. Here is what I created.

I'm going to show the website to my boys tomorrow. Double click the left mouse button to change colour and use the space bar to erase the image and start over.Pin It

Wednesday, June 13, 2007

Addendum to memo board instructions

I forgot to add something to the instructions for the French Memo board.

Before stapling down the fabric, you need to add some fiberfill to make it puffy. I bought "low loft" but ended up doubling it. I'd get medium if I was doing it again.Pin It

Tuesday, June 12, 2007

Getting crafty

I wanted to share some crafty goodness.

A while back after a particularly bad day of too many sippy cups and too much poop cleanup I escaped to one of my favourite craft stores Ben Franklin for some sanity saving time. I decided to make my own French Memo board.

Here are the directions.

Materials - one wood framed canvas 16 by 20 (or smaller, if you like).
One "fat corner" of fabric - sorry I don't know the exact dimensions but you can find oodles of these at any good fabric store.
Ribbon - I can't remember how many yards. Buy yourself 2 rolls and I think you'll be good.
Brads - 12 in a coordinating colour.

You need a staple gun for this. If you're lucky or have tendonitis like me, your DH will do the stapling for you - well after you do some and then whine about the pain.

First staple the fabric to the canvas. Then staple down the ribbons in a criss cross pattern. Next make holes at the intersecting places for the brads. I used a nail to do that. Then insert the brads. Voila!

I even made a second one as a gift for my mom. Unfortunately, my 2 year old discovered how to take the brads out before I gave it to her. It has been recreated and is now safely at Grandma's house.Pin It
Related Posts with Thumbnails